How to Properly Use a Car Battery Charger for Your Vehicle
Have you ever found yourself with a dead car battery, unsure of how to get back on the road? Understanding how to use a car battery charger can save you time and frustration, making it an essential skill for any vehicle owner.
Using a car battery charger involves connecting the charger to the battery, selecting the correct settings, and monitoring the charging process. With a few simple steps, you can restore your battery’s power and ensure your vehicle is ready to go.
Choosing the Right Charger
Selecting the appropriate car battery charger is crucial for effectively restoring your vehicle’s battery. Different chargers are designed for various battery types and sizes, so understanding your options can save you time and prevent damage to the battery. Follow these steps to ensure you make an informed choice.
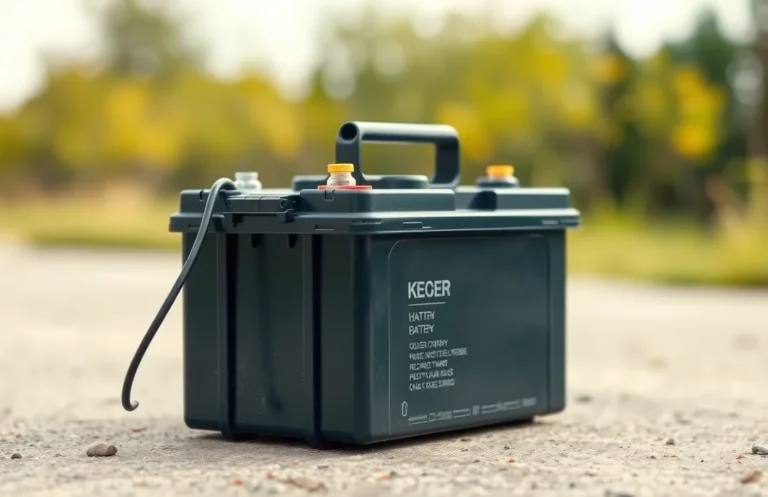
- Determine Battery Type: Identify whether your vehicle uses a lead-acid, AGM, or gel battery. Each type requires a specific charger to avoid damage.
- Check Voltage Compatibility: Most car batteries are either 6V or 12V. Ensure the charger you select matches your battery’s voltage to ensure proper charging.
- Assess Charging Speed: Chargers come with different amperage ratings. Higher amperage chargers charge faster but can overheat batteries if not monitored. Choose a charger that balances speed and safety.
- Look for Smart Features: Many modern chargers have automatic shut-off, float mode, and diagnostic features, which can enhance safety and ease of use.
- Consider Portability: If you plan to use the charger in multiple locations, opt for a lightweight and compact model for easy transportation.
Selecting the right charger is your first step toward properly using a car battery charger and ensuring your vehicle starts reliably.
Preparing Your Vehicle
Before using a car battery charger, it’s essential to ensure your vehicle is ready for the charging process. Proper preparation can enhance safety and efficiency while preventing potential damage. Follow these steps to prepare your vehicle effectively.
- Park in a Safe Location: Choose a well-ventilated area away from flammable materials. Ensure the vehicle is parked on a flat surface and in a safe position.
- Turn Off the Ignition: Ensure that the vehicle’s ignition is completely off. This prevents any electrical surges or shorts while connecting the charger.
- Remove Keys: Take the keys out of the ignition to avoid accidental starts or any electrical activity that could interfere with the charging process.
- Pop the Hood: Open the vehicle’s hood to access the battery. Make sure the hood is securely propped open to avoid it closing unexpectedly.
- Check Battery Condition: Inspect the battery for any signs of damage or corrosion. If you notice any leaks or excessive corrosion, it’s better to consult a professional before proceeding.
Following these steps ensures your vehicle is properly set up for charging, making the process smoother and safer.
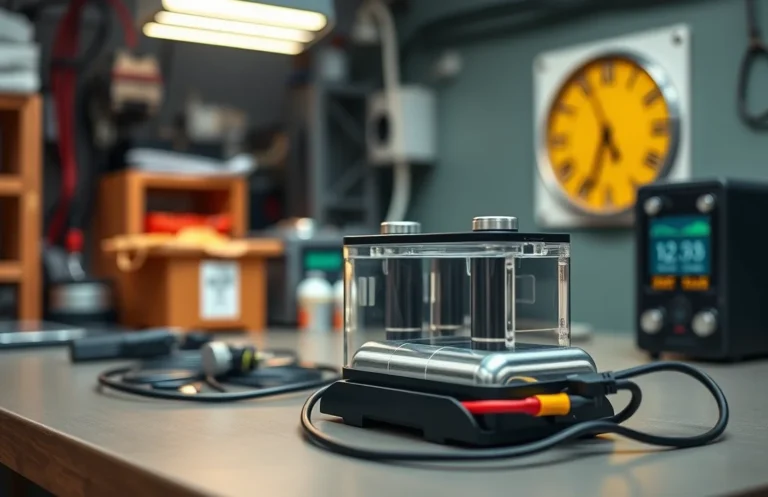
Connecting the Charger
Connecting the charger properly is crucial for safe and effective battery charging. Follow these steps to ensure a correct connection, which helps to prevent sparks, damage to the battery, and ensures optimal charging performance.
- Identify the terminals: Locate the positive (usually red) and negative (usually black) terminals on the battery. These are often marked with a “+” for positive and a “-” for negative.
- Attach the positive clamp: Take the red clamp from the charger and connect it to the positive terminal of the battery. Ensure a secure connection, as a loose clamp can lead to poor charging.
- Attach the negative clamp: Next, connect the black clamp to the negative terminal of the battery. If instructed by the charger’s manual, you may connect this clamp to a grounded metal part of the vehicle instead of directly to the battery.
- Double-check connections: Before proceeding, ensure that both clamps are securely attached and that there are no loose wires. This step is vital for both safety and efficiency during the charging process.
By following these steps, you can effectively connect the charger to the battery, setting the stage for the next phase of the charging process.
Setting the Charger Settings
Understanding the different settings on a car battery charger is crucial for effective charging. Each setting corresponds to specific battery types and conditions, ensuring optimal performance and safety. Selecting the appropriate setting not only speeds up the charging process but also extends the life of your battery.
Most chargers feature multiple settings, such as “Standard,” “AGM,” or “Maintenance.” The “Standard” setting is suitable for conventional lead-acid batteries, while the “AGM” setting is designed for absorbed glass mat batteries, which require a different charge profile. If your charger has a “Maintenance” mode, use it to keep a fully charged battery topped off without overcharging, ideal for seasonal vehicles.
Some chargers also allow you to choose the amperage, which affects how quickly the battery charges. A higher amperage setting will charge the battery faster but may not be suitable for all battery types. For deep-cycle batteries, a lower amperage is often recommended to prevent damage. Always refer to your charger’s manual to ensure you select the right settings for the specific battery you are charging.
Monitoring the Charging Process
Keeping track of the charging progress is essential for ensuring your battery is charged safely and efficiently. This step helps you avoid overcharging, which can damage the battery and reduce its lifespan. Here’s how to monitor the charging process effectively:
- Check the charger’s indicator lights: Most chargers come equipped with LED lights that indicate the charging status. Familiarize yourself with what each light means, such as charging, fully charged, or error.
- Use a multimeter: If you want a more precise reading, consider using a multimeter to measure the battery voltage periodically. This gives you real-time information about the battery’s charge level.
- Set a timer: Depending on the charger and the battery capacity, set a timer to remind you to check the charging progress at regular intervals. This can help prevent overcharging.
- Listen for sounds: Some chargers may emit sounds when the battery is fully charged or if there is an issue. Pay attention to any unusual noises to address potential problems promptly.
- Avoid leaving it unattended: While monitoring, avoid leaving the charger unattended for long periods. Being present allows you to react quickly if something goes wrong.
Following these steps ensures you stay informed throughout the charging process and maintain battery health.
Disconnecting the Charger Safely
Once the charging process is complete, disconnecting the charger properly ensures both your safety and the longevity of the battery. Follow these steps to safely remove the charger, preventing any potential electrical hazards or damage to your vehicle.
- Turn off the charger first. This action deactivates the power supply, making disconnection safer.
- Carefully remove the negative (black) clamp from the battery terminal. Always start with the negative terminal to prevent any electrical shorts.
- Next, detach the positive (red) clamp from the positive terminal. This sequence helps to minimize any risk of sparks.
- Store the clamps back on the charger, ensuring they are not touching each other or any metal surface.
- Finally, unplug the charger from the wall outlet. This step is crucial to avoid any power surges that could damage the charger or your battery.
By following these steps, you ensure that the charger is disconnected safely, minimizing any risks associated with the process. This careful approach is essential for anyone learning how do I use a car battery charger effectively.
Maintaining Your Charger
To ensure longevity and reliability, proper maintenance of your car battery charger is essential. Regular care can prevent issues and enhance its performance. Here are key tips to help you maintain this critical tool effectively.
- Keep it clean: Regularly wipe down the charger to remove dust and debris. Use a soft cloth and avoid harsh chemicals that could damage the surface.
- Store it properly: Place the charger in a dry, cool location when not in use. Avoid areas with extreme temperatures or high humidity.
- Inspect cables and connectors: Regularly check for frayed cables or corrosion on connectors. Replace any damaged parts immediately to prevent safety hazards.
- Follow manufacturer guidelines: Adhere to the maintenance recommendations provided by the manufacturer. This may include periodic checks or software updates if applicable.
- Test functionality: Occasionally test the charger to ensure it operates correctly. This can help catch any issues before they become significant problems.
By implementing these maintenance tips, you can ensure your car battery charger remains functional and effective, ready to assist you whenever needed. Proper upkeep contributes to the overall reliability of the tool, so make it part of your routine.
Quick Summary
- Ensure the charger is compatible with your car battery type (lead-acid, AGM, etc.).
- Read the manufacturer’s instructions before using the charger.
- Always wear safety gear, including gloves and goggles, when handling batteries.
- Connect the charger to the battery terminals: positive to positive (+) and negative to negative (-).
- Set the charger to the appropriate voltage and amperage settings based on your battery’s requirements.
- Monitor the charging process and disconnect once fully charged to avoid overcharging.
- Store the charger in a safe, dry place after use to prolong its lifespan.
Frequently Asked Questions
1. How do I know if my car battery needs charging?
You can check if your car battery needs charging by looking for signs such as dim headlights, slow engine crank, or a battery warning light on your dashboard. Additionally, you can use a multimeter to measure the battery voltage; a reading below 12.4 volts typically indicates it needs charging.
2. What type of battery charger should I use?
Choose a charger that matches your battery type, whether it’s a standard lead-acid, AGM, or gel battery. Additionally, look for a charger with an appropriate amp rating for your battery’s capacity; a trickle charger is ideal for maintenance, while a faster charger can quickly replenish a drained battery.
3. How do I connect the battery charger to my car battery?
First, ensure the charger is unplugged. Connect the positive (red) clamp to the positive terminal of the battery and the negative (black) clamp to a grounded metal surface on the car or directly to the battery’s negative terminal. Once connected, plug in the charger to start charging.
4. How long does it take to charge a car battery?
The charging time varies based on the charger type and battery state; a fully depleted battery may take anywhere from 4 to 24 hours to charge fully. Smart chargers can adjust charging rates automatically and might take less time by optimizing the process.
5. Is it safe to charge a car battery indoors?
Charging a car battery indoors can be safe, provided the area is well-ventilated to prevent the buildup of potentially explosive gases. Always follow the manufacturer’s guidelines and avoid charging near flammable materials or in enclosed spaces without proper ventilation.

- How to Jump-Start a Motorcycle with a Car Battery Safely - February 22, 2026
- Does Life360 Really Drain Your Battery? What You Should Know - February 22, 2026
- Do Hardwired Smoke Detectors Need Batteries for Backup Support? - February 22, 2026