How to Safely Connect a Battery Charger to a Battery
Connecting a battery charger to your vehicle’s battery may seem intimidating at first, but it is a crucial skill for any car owner. Understanding this process can save you time and money while ensuring your vehicle runs smoothly and efficiently.
To connect a battery charger to a battery safely, follow these key steps: ensure the charger is off, attach the red clip to the positive terminal, then connect the black clip to the negative terminal. Always double-check your connections before turning on the charger.
Gather Necessary Tools
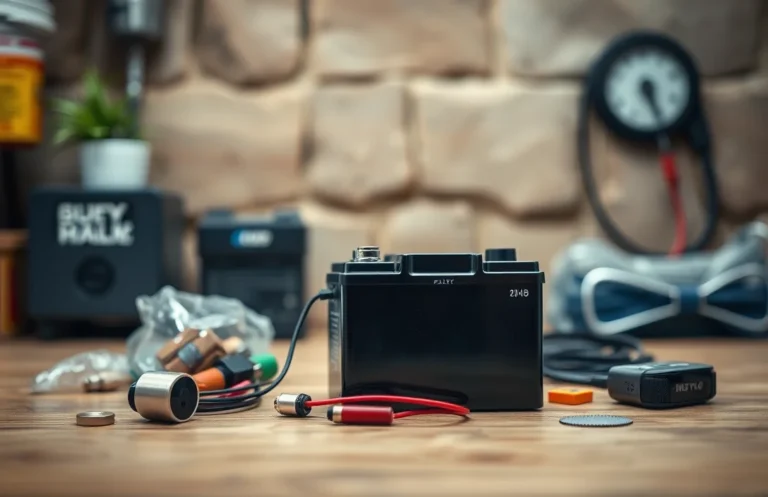
Before connecting a battery charger to a battery, you need to gather the essential tools. Having the right equipment ensures a safe and effective charging process. Here are the basic tools you will need:
- Battery Charger: Choose a charger that is compatible with your battery type (lead-acid, AGM, etc.) and has the appropriate voltage and amp rating.
- Protective Gear: Wear safety goggles and gloves to protect yourself from potential acid spills or electrical hazards.
- Multimeter (optional): This tool can help you check the battery’s voltage and condition before charging.
- Extension Cord (if needed): Ensure you have a suitable cord if your charger needs to reach an outlet.
Gathering these items before starting will facilitate a smooth connection process and help prevent accidents. Ensure each tool is in good working condition and ready for use.
Inspect the Battery Condition
Before connecting a charger, assess the battery’s condition. This initial inspection helps identify any visible issues that could affect charging and safety. Look for signs of damage, such as cracks in the casing, leaks, or corrosion on the terminals.
Corrosion appears as a white, ashy substance around the battery terminals. If you notice this, it needs to be cleaned off before proceeding. You can safely remove corrosion using a mixture of baking soda and water. Apply it with a brush, ensuring to wear gloves and eye protection. After cleaning, rinse with water and dry the terminals thoroughly. If the battery shows deep cracks or significant leaking, it may need to be replaced instead of recharging.
Addressing these issues is crucial to ensure a successful connection between the battery and charger. A damaged battery can lead to further complications, including electrical shorts or even battery failure during charging. Always prioritize safety in this process.
Choose the Right Charger
Selecting the appropriate battery charger is crucial for safely connecting it to your battery. Chargers come in various types, each designed for specific battery chemistry and charging needs. Understanding your battery’s requirements will help you choose a charger that ensures efficiency without causing damage.
For lead-acid batteries, a standard charger will suffice, while lithium-ion batteries require specialized chargers due to their unique charging profile. If your battery specifications are unclear, consult the user manual or look for a label on the battery itself. Many modern chargers are automatic and can detect the battery type, adjusting the charge accordingly, which is particularly beneficial for beginners.
Consider the charger’s amperage as well; a higher amperage will charge the battery faster but may not be suitable for all batteries. A lower amperage charger is safer for maintaining battery health over time. If you plan to use the charger frequently, invest in a smart charger that can monitor and maintain your battery without risk of overcharging.
Prepare the Charging Area
Creating a safe and clean workspace is essential before connecting a battery charger to a battery. This ensures that you can work efficiently without any distractions or hazards. Take a moment to gather all necessary tools and materials, and make sure the area is well-lit and free of clutter.
Start by identifying a flat, dry surface where you can comfortably set up your charger and battery. Avoid working on surfaces that are wet or near flammable materials. If you’re inside a garage or workshop, ensure proper ventilation to prevent any buildup of gases that the battery might emit during charging.
Remove any unnecessary items from the area, especially metal objects that could accidentally cause a short circuit. It’s also wise to keep pets and children away from the charging area to avoid any accidents. Once your space is clear and organized, you’ll be ready to move on to the next step of connecting the charger properly.
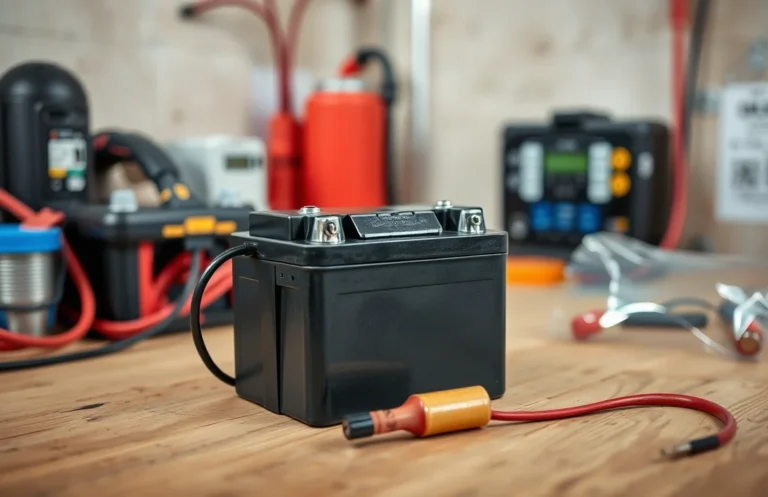
Connect the Charger Properly
Connecting the charger to the battery must be done in a specific order to ensure safety and effectiveness. This step is crucial for avoiding short circuits or damage to your battery or charger. Follow these instructions carefully for a proper connection.
- Identify the battery terminals: Locate the positive (+) and negative (−) terminals on your battery. The positive terminal is usually marked with a red cover or cable, while the negative terminal is often black.
- Attach the red clamp: Take the red clamp from the charger and connect it to the positive terminal of the battery. Ensure a secure connection to avoid any sparks.
- Connect the black clamp: Next, take the black clamp and attach it to the negative terminal of the battery. Make sure this connection is also firm and secure.
- Alternative ground connection: If your charger instructions recommend it, you can also connect the black clamp to a suitable ground point on the vehicle, such as a metal bolt on the chassis. This reduces the risk of sparks near the battery.
- Check connections: Before plugging in the charger, double-check that both clamps are firmly attached and there are no loose wires.
Monitor Charging Progress
During the charging process, it’s essential to keep an eye on the battery’s status. Most modern chargers come with indicators that show the charge level or progress. These indicators can take the form of lights or a digital display. Understanding these signals can help you ensure your battery is charging correctly and safely.
Check the charger’s display or indicators regularly. If the light is green or the display shows a full charge, the battery is nearing completion. Conversely, if the light remains red for an extended period, it may indicate an issue with the battery or the charger. Always refer to the user manual for specific meanings of indicator lights or displays to avoid any confusion.
In addition, if you have a multimeter, you can measure the battery voltage during charging. This can provide extra assurance that the battery is receiving an appropriate charge. A healthy lead-acid battery should read around 12.6 volts when fully charged. Monitoring charging progress not only helps ensure the battery is functioning correctly but also aids in extending its lifespan.
Disconnect Safely After Charging
Once the charging process is complete, it’s essential to disconnect the charger properly to avoid any electrical hazards or damage to the battery. Follow these steps to ensure a safe disconnection:
- Turn off the charger: Before disconnecting any cables, switch off the battery charger. This prevents any sudden electrical surges that could harm the battery or the charger.
- Remove the negative cable: Start by disconnecting the negative (black) cable from the battery terminal. This minimizes the risk of short-circuiting.
- Remove the positive cable: Next, disconnect the positive (red) cable from the battery terminal. Ensure you do not let the cable touch any metal parts of the vehicle while removing it.
- Store the charger safely: Once both cables are disconnected, store the charger in a dry, safe place, away from any moisture or extreme temperatures. This helps prolong its lifespan.
- Check the battery: After disconnection, inspect the battery for any signs of damage or leakage. If anything seems off, consult a professional.
By following these steps, you can safely disconnect the charger, ensuring your battery remains in good condition and minimizing any risk of accidents.
Quick Summary
- Ensure the charger is unplugged before making any connections.
- Identify the positive (+) and negative (-) terminals on both the battery and the charger.
- Connect the positive lead (red) from the charger to the positive terminal of the battery.
- Connect the negative lead (black) from the charger to the negative terminal of the battery.
- Double-check all connections for security and correctness before plugging in the charger.
- Plug in the charger and monitor the charging process; follow manufacturer’s instructions for duration.
- Once charged, unplug the charger before disconnecting the leads, removing the negative lead first.
Frequently Asked Questions
1. What safety precautions should I take before connecting a battery charger?
Before connecting a battery charger, ensure you are wearing safety goggles and gloves to protect yourself. Always work in a well-ventilated area and keep flammable materials away from the battery to prevent any potential hazards.
2. How do I properly connect a battery charger to a battery?
Start by connecting the positive cable (usually red) from the charger to the positive terminal of the battery. Then, connect the negative cable (usually black) to the negative terminal of the battery, ensuring a secure fit to avoid sparks or disconnections.
3. Should the battery be in the vehicle when charging?
It is generally safe to charge the battery while it’s still in the vehicle, but ensure the vehicle is turned off. If possible, consult your vehicle’s manual for any specific instructions regarding charging the battery in place.
4. How do I know when the battery is fully charged?
Most modern battery chargers have an indicator light that shows when the battery is fully charged. If your charger does not have this feature, refer to the battery manufacturer’s specifications for typical charging times.
5. Can I overcharge my battery while using a charger?
Yes, overcharging can damage your battery, but most modern chargers have built-in safeguards to prevent this. It’s important to follow the manufacturer’s guidelines and disconnect the charger once the battery is fully charged.

- How to Jump-Start a Motorcycle with a Car Battery Safely - February 22, 2026
- Does Life360 Really Drain Your Battery? What You Should Know - February 22, 2026
- Do Hardwired Smoke Detectors Need Batteries for Backup Support? - February 22, 2026