How to Test If Your Battery Charger is Functioning Properly
Have you ever plugged in a battery charger and wondered if it’s truly doing its job? Understanding how to test whether a charger is functioning can save you time and frustration, especially when you need power on the go. Knowing the signs can make all the difference.
To determine if a battery charger is working, check for indicator lights, listen for audible sounds, and monitor charging times. Additionally, testing with a multimeter can provide precise voltage readings, ensuring you have a reliable charging source.
Visual Inspection of Charger
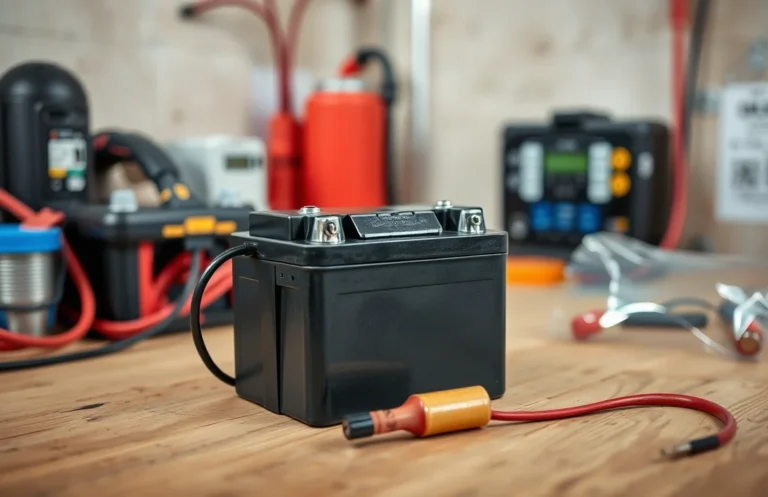
Begin by performing a thorough visual inspection of the battery charger. This initial step is crucial in identifying any obvious signs of damage that could affect its performance. Look for frayed cables, cracks in the casing, or any burnt areas that indicate overheating. Pay attention to the connectors; they should be clean and free from corrosion or dirt.
Ensure that the prongs and ports are intact and securely attached. A loose connection can hinder charging efficiency. Check the power cord for any signs of wear, especially near the plug and where it connects to the charger. If you notice any physical damage, it’s advisable to replace the charger before testing its functionality further. This simple yet effective assessment can save time and potentially prevent safety hazards.
Testing with a Multimeter
Using a multimeter is a reliable method to check if your battery charger is functioning properly. This tool measures the voltage output of the charger, providing a clear indication of whether it’s delivering the required power. Ensuring that the charger outputs the correct voltage is essential for compatibility with your battery.
To begin, set your multimeter to the DC voltage setting. If your charger is designed for a specific voltage, such as 12V, ensure that the multimeter is set to measure a range that includes this value. Next, insert the red probe into the positive terminal of the charger and the black probe into the negative terminal.
Read the display on the multimeter. If the voltage reading matches the specifications of the charger, it is likely working correctly. However, if the reading is significantly lower than expected or zero, the charger may not be functioning as intended. In this case, further troubleshooting or replacement may be necessary to ensure safe and effective charging of your batteries.
Using a Different Power Outlet
Before concluding that your battery charger is faulty, consider testing it in a different power outlet. Outlet issues can often mimic charger malfunctions, leading to unnecessary frustration. By switching to another outlet, you can easily determine if the problem lies with the power source rather than the charger itself.
To perform this step, follow these simple instructions:
- Unplug the charger from the current outlet.
- Choose a different outlet in a different room or area, preferably one that you know is functioning well (e.g., where other devices work without issues).
- Plug the charger into the new outlet and observe if any indicators (like lights) activate.
If your charger shows signs of working in the new outlet, the original outlet may have a fault, such as a blown fuse or inconsistent power supply. If it still does not work, further testing will be necessary to assess the charger itself.
Charging a Known Good Battery
Testing your charger with a known good battery is an effective way to determine if it is functioning properly. By using a battery that you are sure is fully operational, you can isolate the charger as the variable in your troubleshooting process. This method helps confirm whether the issue lies with the charger or the battery itself.
Begin by connecting the known good battery to the charger. Ensure that all connections are secure, and that the charger is plugged into a functioning power source. Once connected, monitor the charging process closely. Most chargers will have a visual indication, such as a light, that signifies when charging is occurring. If the charger shows signs of life, it is likely working properly.
After a brief charging period, disconnect the battery and test it in an appropriate device. If the device operates normally, the charger is likely functioning. If the device fails to work, consider reassessing the battery itself or the charger with another battery. This step helps clarify the source of the problem and ensures that your charger is tested effectively.
Indicator Lights Functionality
Checking the indicator lights on your battery charger is an essential step to determine if it is functioning correctly. Most chargers are equipped with lights that indicate various states, such as charging, fully charged, or fault conditions. Understanding these signals can help you assess whether the charger is operational.
Observe the lights as you connect the charger to a known good battery. Typically, a green light indicates that the battery is fully charged, while a red or amber light signifies charging in progress. If the lights do not illuminate at all, this may indicate a problem with the charger itself. In some cases, blinking lights can suggest an error or fault condition. Consult the user manual for specific meanings associated with the lights on your model, as these can vary widely.
By closely monitoring the indicator lights, you can quickly determine if the battery charger is working or if further troubleshooting is necessary.
Listening for Unusual Noises
While testing a battery charger, pay close attention to any unusual sounds that may arise during its operation. These noises can indicate whether the charger is functioning properly or if there are underlying issues. Common irregular sounds include buzzing, clicking, or hissing, which could signal a malfunction.
If you hear a buzzing sound, it may suggest that the charger is working harder than normal, potentially due to overheating or internal short circuits. A clicking noise can indicate that the charger is attempting to connect with the battery but is failing, which might mean that the battery is defective or incompatible. Hissing sounds could be a sign of gas escaping from the battery, which is a serious safety hazard.
To effectively monitor these sounds, ensure you are in a quiet environment where you can hear the charger clearly. If any unusual noises are detected, stop using the charger immediately and consult the user manual or a professional for further diagnosis. This step is crucial in determining if your charger is functioning properly or if it poses a risk to your battery and personal safety.
Duration of Charging Time
Evaluating the charging time is essential to determine if your charger is functioning as expected. Each type of battery has a specific charging duration, typically outlined by the manufacturer. If the charging time significantly exceeds this duration, it may indicate a problem with the charger or the battery itself.
To assess the situation, first, check the recommended charging time for your specific battery type. Once you have that information, plug in the charger and monitor the time it takes to reach a full charge. If it takes much longer than usual, consider testing another charger or battery to identify where the issue lies. Additionally, if you find that the battery does not hold a charge even after adequate charging time, this could signal that the battery is nearing the end of its life.
By comparing the actual charging duration to the expected time, you can effectively determine if your charger is working properly. This simple evaluation can save you time and prevent further issues down the road.
Quick Summary
- Check for indicator lights: A functioning charger often has LED lights that show charging status.
- Listen for sounds: Some chargers emit a sound when plugged in or when charging is complete.
- Use a multimeter: Measure the output voltage to ensure it matches the charger’s specifications.
- Inspect for damage: Look for frayed wires, burnt connectors, or other physical signs of wear.
- Test with a different battery: If possible, try charging another battery to rule out battery issues.
- Monitor charging time: If a battery takes significantly longer to charge than usual, the charger may be faulty.
- Check the power source: Ensure the outlet is working by testing it with another device.
Frequently Asked Questions
How can I tell if my battery charger is working?
To determine if your battery charger is functioning, first check for any indicator lights on the charger itself. A green or solid light usually means it’s working, while a red or blinking light may indicate an issue.
What should I do if my charger has no indicator light?
If your charger has no indicator light, try plugging it into a different outlet or using a different power source. If it still doesn’t work, the charger may be faulty and should be tested with another compatible battery.
Can I test a battery charger with a multimeter?
Yes, you can test a battery charger with a multimeter. Set the multimeter to measure voltage, connect the probes to the charger’s output, and check if the reading matches the charger’s specifications.
What signs indicate a faulty battery charger?
Signs of a faulty charger include no indicator light, overheating, unusual noises, or a burning smell. If you notice any of these symptoms, stop using the charger immediately and consider replacing it.
Is it safe to use a charger that seems to be working intermittently?
No, it is not safe to use a charger that works intermittently. This could indicate an internal failure that might lead to further damage or safety hazards, such as overheating or electrical shock.

- How to Jump-Start a Motorcycle with a Car Battery Safely - February 22, 2026
- Does Life360 Really Drain Your Battery? What You Should Know - February 22, 2026
- Do Hardwired Smoke Detectors Need Batteries for Backup Support? - February 22, 2026