How to Properly Use a Car Battery Charger for Optimal Results
Understanding how to use a car battery charger can save you time and money while giving you confidence as a new car owner. With the right knowledge, you can easily jump-start your battery and keep your vehicle running smoothly without relying on others.
Using a car battery charger involves choosing the right charger, connecting the cables correctly, and monitoring the charging process. This guide will provide clear, step-by-step instructions to ensure you handle your car battery safely and effectively.
Choosing the Right Charger
Selecting the correct car battery charger is crucial for safely and effectively charging your car battery. Different chargers serve various purposes and battery types, so understanding your options will help you avoid potential damage and ensure optimal performance. Here’s how to choose the right one for your needs:
- Identify your battery type: Determine if your vehicle has a standard lead-acid battery, AGM (Absorbent Glass Mat), or gel battery. Each type requires a specific charging method.
- Choose the appropriate amperage: Chargers come in different amperage ratings. A higher amperage charger will charge your battery faster but may not be suitable for all battery types. For most standard batteries, a charger with 2 to 10 amps is adequate.
- Consider smart features: Look for a smart charger that automatically adjusts the charging rate and stops charging when the battery is full. This feature helps prevent overcharging and prolongs battery life.
- Check for safety features: Ensure the charger has built-in safety features such as reverse polarity protection and short-circuit prevention. These features enhance safety during the charging process.
By following these steps, you can confidently select the right charger that meets your needs and maintains your battery’s health.
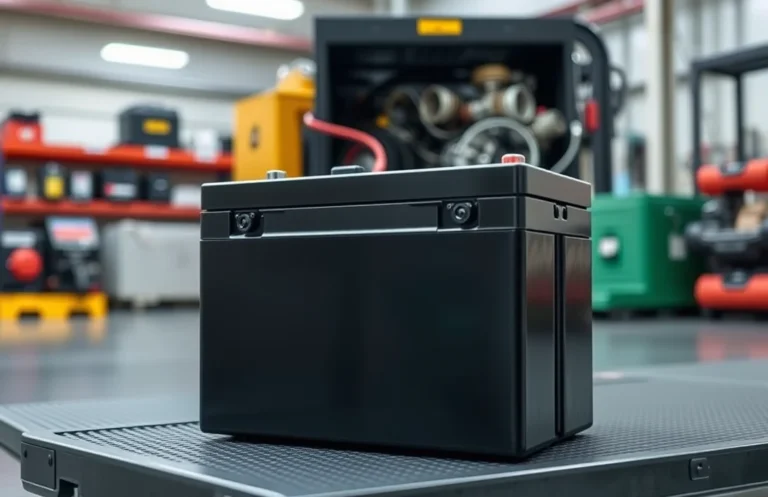
Preparing the Battery
Before you can effectively use a car battery charger, proper preparation of the battery is crucial. This ensures safety and helps the charger work efficiently. Follow these steps to safely prepare your car battery for charging.
- Turn off the vehicle: Make sure the engine is off and the keys are removed from the ignition. This prevents any electrical issues while you work.
- Inspect the battery: Check for any signs of damage, such as cracks or leaks. If you notice any, do not attempt to charge the battery and seek professional help.
- Clean the terminals: Dirt and corrosion can affect the charging process. Use a wire brush or battery terminal cleaner to remove any buildup from the positive (+) and negative (-) terminals.
- Check the fluid level: If your battery is not a maintenance-free type, check the electrolyte fluid level. If it’s low, add distilled water to the appropriate level, ensuring not to overfill.
- Wear safety gear: Put on safety glasses and gloves to protect yourself from any acid or debris that may be present during the process.
Following these steps will help you safely prepare your battery for charging, setting the stage for effective use of your charger.
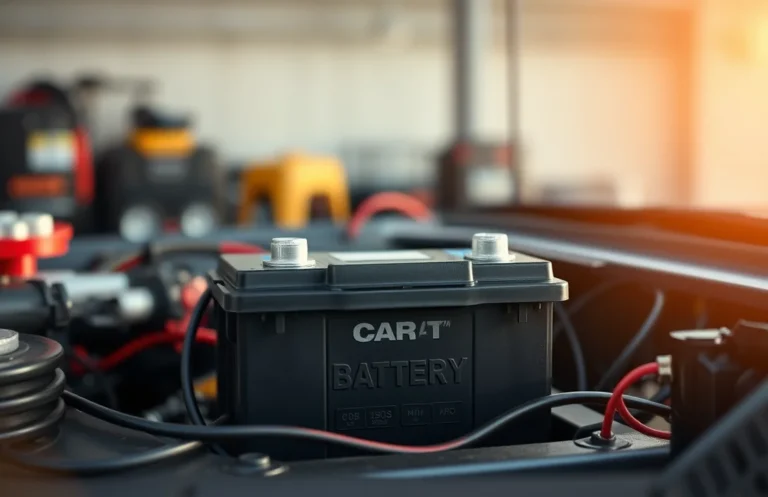
Connecting the Charger
Connecting the charger to the battery is a crucial step that requires attention to detail to ensure safety and effectiveness. Following the correct procedure prevents damage and promotes efficient charging. Here’s how to do it properly:
- Turn Off the Charger: Before making any connections, make sure the charger is turned off and unplugged to avoid any accidental sparks.
- Identify the Battery Terminals: Locate the positive (+) and negative (-) terminals on your battery. The positive terminal usually has a red cover or is marked with a plus sign.
- Connect the Positive Cable: Take the red cable from the charger and attach it to the positive terminal of the battery. Ensure a secure connection.
- Connect the Negative Cable: Now, take the black cable and connect it to the negative terminal of the battery. If your charger has a grounding option, you can also connect the negative clamp to a metal part of the car frame.
- Double-Check Connections: Review your connections to ensure they are secure and correct. This step is crucial to prevent any issues during the charging process.
- Plug in the Charger: Finally, plug the charger into a power outlet and turn it on. Make sure to follow the manufacturer’s instructions for the charging settings.
Monitoring the Charging Process
Keeping an eye on the charging process is essential for ensuring safety and effectiveness. Regularly check the charger and battery during operation to prevent any potential issues. Here are key points to monitor:
- Indicator Lights: Most chargers have indicator lights that show the charging status. A green light usually means fully charged, while red or yellow indicates charging is still in progress.
- Temperature: Touch the battery and charger occasionally. If they feel excessively hot, disconnect immediately to avoid damage or safety hazards.
- Charging Time: Keep track of how long the battery has been charging. Refer to the charger’s manual for recommended charging times based on battery type.
- No Unusual Sounds: Listen for any strange noises coming from the charger or battery. If you hear hissing or bubbling, disconnect the charger right away.
- Check Connections: Occasionally inspect the connections to ensure they remain secure. Loose connections can lead to inefficient charging or electrical sparks.
By monitoring these aspects, you can ensure the charging process goes smoothly and safely. This vigilance helps you avoid mistakes and promotes the longevity of your battery.
Disconnecting the Charger Safely
Once the charging process is complete, it’s essential to disconnect the charger properly to avoid any damage to the battery or the charger itself. Following these steps ensures a safe disconnection, maintaining the integrity of your battery.
- Turn off the charger: Before disconnecting, make sure the charger is turned off to prevent any sparks or electrical surges.
- Remove the negative cable: Always start with the negative terminal. Loosen the clamp and gently pull it off the battery terminal to avoid any accidental short circuits.
- Remove the positive cable: Next, disconnect the positive cable using the same method. This order prevents any electrical issues.
- Store the charger: Once disconnected, store the charger in a safe place, away from moisture and direct sunlight.
- Check your battery: After disconnecting, visually inspect the battery for any issues, such as corrosion or leaks.
By following these steps, you can safely disconnect the charger, ensuring your battery remains in good condition for future use.
Maintaining Your Battery
Proper battery maintenance is essential for prolonging its lifespan and ensuring your vehicle operates smoothly. Regular care not only helps prevent unexpected breakdowns but also enhances the overall performance of your car. By following a few simple practices, you can keep your battery in optimal condition for years to come.
Start by keeping the battery terminals clean and free from corrosion. Use a mixture of baking soda and water to gently scrub any buildup on the terminals, ensuring a good connection. After cleaning, apply a thin layer of petroleum jelly or battery terminal protector to help prevent corrosion in the future.
Check the battery fluid levels if your battery is not maintenance-free. Add distilled water as needed, ensuring the fluid covers the plates without overflowing. Additionally, securing the battery tightly in its tray can prevent vibrations that may damage it over time.
Lastly, consider testing your battery regularly, especially before long trips or seasonal changes. Keeping track of its performance can help you identify issues early and avoid being stranded. By implementing these tips, you’ll maintain your battery effectively, enhancing its lifespan and reliability.
Quick Summary
- Ensure the car battery charger is compatible with your battery type (lead-acid, AGM, etc.).
- Always read the manufacturer’s instructions before use for safety and proper operation.
- Connect the charger to the battery, starting with the positive terminal followed by the negative terminal.
- Set the charger to the correct voltage and amperage settings based on the battery specifications.
- Monitor the charging process and ensure the charger is in a well-ventilated area.
- Disconnect the charger in reverse order: negative terminal first, then positive terminal.
- Check the battery condition after charging to ensure it holds a charge effectively.
Frequently Asked Questions
1. What is a car battery charger and why do I need one?
A car battery charger is a device that replenishes the electric energy in your car’s battery. You need one to ensure your battery remains charged, especially if your car is not used frequently or if it has difficulty starting.
2. How do I connect the car battery charger to my battery?
First, ensure the charger is unplugged. Connect the red (positive) clamp to the positive terminal of the battery, then attach the black (negative) clamp to the negative terminal. Finally, plug in the charger to start charging.
3. How long does it take to charge a car battery?
The charging time can vary based on the charger’s output and the battery’s condition. Generally, it can take anywhere from a few hours to overnight for a complete charge. Always check the charger’s manual for specific time estimates.
4. What safety precautions should I take while using a battery charger?
Always wear safety glasses and gloves to protect yourself. Ensure the charger is off when connecting clamps, and never charge a frozen battery. Work in a well-ventilated area to avoid gas buildup from the battery.
5. What should I do if the battery doesn’t charge?
If the battery does not charge, it may be damaged or dead beyond repair. Check the connections and try again, but if it still doesn’t work, consider having the battery tested at an automotive store or by a professional.

- How to Jump-Start a Motorcycle with a Car Battery Safely - February 22, 2026
- Does Life360 Really Drain Your Battery? What You Should Know - February 22, 2026
- Do Hardwired Smoke Detectors Need Batteries for Backup Support? - February 22, 2026