How to Properly Charge a 6V Battery for Optimal Performance
Charging a 6V battery can seem daunting, especially for those new to electronics. However, understanding the basics can simplify the process and ensure your projects run smoothly. With the right knowledge, you can safely charge your battery and keep it in great condition for your DIY endeavors.
To charge a 6V battery effectively, remember these key points: use the correct charger type, monitor charging time, and ensure proper connections. Following these guidelines will help you avoid damage and extend the battery’s lifespan.
Choosing the Right Charger
Selecting the appropriate charger for your 6V battery is crucial for safe and effective charging. An incompatible charger can lead to battery damage, reduced lifespan, or even hazards. Here are some steps to help you choose the right charger:
- Check Battery Type: Different 6V batteries, such as lead-acid, AGM, or lithium, have unique charging requirements. Make sure your charger is compatible with your specific battery type.
- Charging Voltage: Ensure the charger outputs the correct voltage—6 volts in this case. Using a higher voltage can damage the battery.
- Charging Current: Look for chargers that offer an appropriate charging current for your battery’s capacity. This ensures efficient charging without overheating.
- Smart Features: Consider chargers with smart technology that automatically adjusts the charging process based on the battery’s state. This feature can enhance safety and convenience.
- Safety Certifications: Prioritize chargers that have safety certifications, such as UL or CE, to ensure they meet safety standards.
By following these steps, you can confidently select a charger that will charge your 6V battery safely and effectively, setting the stage for optimal performance.
Understanding Charging Current
Charging current is a critical factor that affects the performance and lifespan of your 6V battery. Selecting the right charging current ensures that the battery charges efficiently without overheating or sustaining damage. Here’s how to determine the appropriate charging current for your battery:
- Check the Battery Specifications: Look for the manufacturer’s recommended charging current, usually expressed in amps (A). This information can typically be found on the battery label or in the user manual.
- Calculate the Charging Current: A general rule of thumb for lead-acid batteries is to use a charging current of 10% of the battery’s amp-hour (Ah) rating. For example, a 6V battery rated at 4Ah should be charged at 0.4A.
- Consider Battery Type: Different battery types, such as AGM, Gel, or standard flooded lead-acid, may have varying optimal charging currents. Verify the specific requirements based on the battery type you are using.
- Monitor Temperature: Keep an eye on the battery temperature while charging. If it becomes excessively hot, reduce the charging current to prevent damage.
By understanding and applying these guidelines, you can ensure that your battery receives the appropriate charging current, leading to optimal performance and longevity.
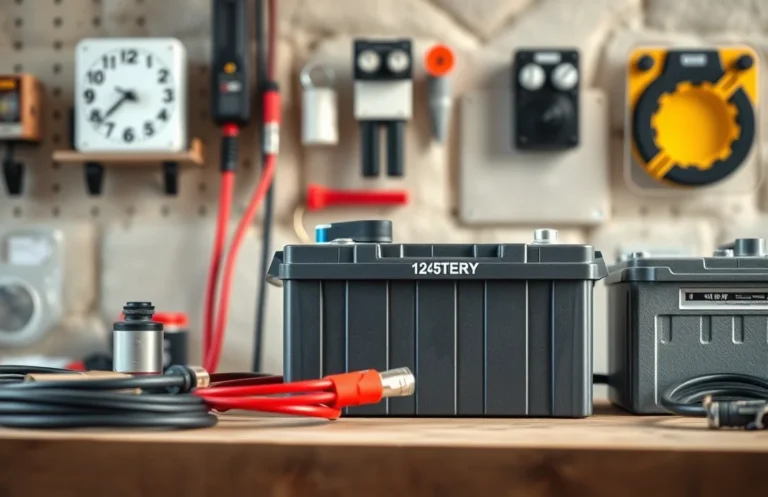
Setting Up the Charging Station
Creating a safe and effective charging area is crucial for maintaining the health of your 6V battery. A well-organized space minimizes risks and ensures optimal charging conditions. Follow these steps to set up your charging station properly:
- Select a well-ventilated area: Choose a location with good airflow to prevent overheating during the charging process. Avoid enclosed spaces like closets or drawers.
- Use a stable surface: Ensure the charging station is on a flat, stable surface to prevent any accidental tips or spills. A workbench or table is ideal.
- Keep flammable materials away: Position the charging station away from any flammable items such as paper, fabric, or chemicals. This reduces fire risks.
- Ensure proper lighting: Good lighting helps you see the charging setup clearly, preventing accidental mistakes. A well-lit area makes it easier to read labels and instructions.
- Organize tools and equipment: Keep all necessary tools and charging equipment within reach. This includes your charger, connectors, and safety gear like gloves and goggles.
By following these steps, you’ll create an efficient and safe environment to charge your battery, allowing for optimal performance and longevity.
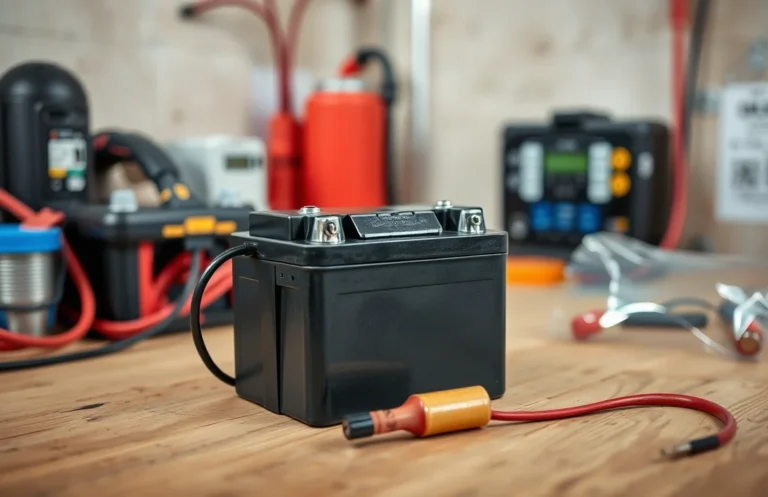
Connecting the Charger Correctly
Establishing a proper connection between your charger and the battery is crucial for safety and efficiency. Following the right steps ensures that you avoid any potential damage to the battery and achieve optimal charging. Here’s how to connect your charger correctly:
- Identify the Charger Terminals: Locate the positive (+) and negative (-) terminals on both the charger and the battery. This is essential to avoid reverse polarity, which can damage your battery.
- Connect the Positive Lead: Attach the red cable from the charger to the positive terminal of the battery. Ensure the connection is secure, as a loose connection can lead to inefficiency.
- Connect the Negative Lead: Next, connect the black cable from the charger to the negative terminal on the battery. This completes the circuit, allowing the charger to deliver power.
- Double-Check Connections: Before turning on the charger, review your connections to ensure they are correct. Confirm that the positive and negative terminals are correctly matched to prevent any accidents.
- Power On the Charger: Once you’ve verified all connections, turn on the charger. Monitor the initial indicators to ensure it is functioning properly.
Monitoring Charge Levels
Keeping an eye on the charge levels during the charging process is crucial to prevent overcharging and potential damage to your 6V battery. Here are some effective methods to monitor the charging process:
- Use a Voltmeter: Connect a voltmeter across the battery terminals to check the voltage. A fully charged 6V battery should read around 6.3 to 6.4 volts. Monitor the voltage periodically during charging.
- Track Charging Time: Know the recommended charging time for your battery type. For example, a typical lead-acid battery may take 6-8 hours to charge fully. Setting a timer can help prevent overcharging.
- Monitor Temperature: Touch the battery casing; if it feels unusually warm, it may indicate overcharging. Overcharging can lead to damage, so disconnect the charger immediately if you notice excessive heat.
- Check for Gassing: If your battery is vented, watch for bubbling or gassing, which can occur when the battery is overcharged. If you observe this, stop charging and allow the battery to cool.
By actively monitoring these aspects, you can ensure that your charging process remains safe and effective, protecting the longevity and performance of your battery.
Safety Precautions While Charging
Ensuring safety during the charging process is crucial to prevent accidents and damage to the battery. Following specific precautions can help protect both you and your equipment. Always keep safety at the forefront when working with batteries, especially when charging them.
First, work in a well-ventilated area to avoid the accumulation of gases that may be released during charging, particularly with lead-acid batteries. Ensure that the charger you are using is compatible with your 6V battery type, as using the wrong charger can lead to overheating or even explosions. Always inspect the battery for any signs of damage or leaks before connecting it to the charger; if you notice any issues, do not attempt to charge it.
Additionally, avoid charging the battery on surfaces that can catch fire. Keep flammable materials away from the charging area. It’s also wise to never charge the battery unattended; stay nearby to monitor the process. Finally, use personal protective equipment such as gloves and safety goggles to protect yourself from any potential accidents during charging.
Maintaining Battery Health
Once you’ve successfully charged your 6V battery, maintaining its health is crucial for ensuring longevity and optimal performance. Proper care can prevent premature wear and keep your battery functioning at its best. Here are some practical tips to follow:
- Regularly Check Charge Levels: Monitor the voltage periodically to ensure it remains within the recommended range. Keeping it charged between 50% and 100% can help maintain battery life.
- Avoid Deep Discharge: Try not to let the battery discharge below 20%. Deep discharges can significantly reduce the lifespan of the battery.
- Store Properly: If you’re not using the battery for an extended period, store it in a cool, dry place and keep it partially charged (around 50%).
- Clean Terminals: Regularly inspect and clean the battery terminals to prevent corrosion, which can impede performance.
- Use Compatible Chargers: Always use a charger specifically designed for 6V batteries to avoid overcharging or damaging the battery.
By following these maintenance tips, you can ensure that your battery remains healthy and performs well for all your projects.
Quick Summary
- Ensure the battery is compatible with a 6V charger before charging.
- Use a charger specifically designed for 6V batteries to prevent damage.
- Check the battery’s condition; look for signs of swelling or leakage.
- Connect the charger to the battery terminals, ensuring correct polarity (positive to positive, negative to negative).
- Monitor the charging process and avoid overcharging by following the manufacturer’s recommendations.
- Disconnect the charger once the battery is fully charged to prolong its lifespan.
- Store the battery in a cool, dry place when not in use to maintain its health.
Frequently Asked Questions
How do I know if my 6V battery needs charging?
You can check the voltage of your 6V battery using a multimeter. If the voltage reads below 6V, it’s time to charge the battery. Additionally, if your device is not operating as expected, it may indicate a low battery charge.
What type of charger should I use for a 6V battery?
Use a charger specifically designed for 6V batteries, such as a 6V lead-acid or NiMH/NiCd charger. Ensure that the charger has an appropriate amperage rating to avoid overcharging. Always check the battery specifications before choosing a charger.
Can I charge a 6V battery with a 12V charger?
No, using a 12V charger can damage a 6V battery, as it will supply too much voltage. Always use a charger that matches the voltage rating of your battery to ensure safe and effective charging.
How long does it take to charge a 6V battery?
The charging time for a 6V battery varies depending on its capacity and the charger’s output. Generally, it can take anywhere from a few hours to overnight. Always refer to the manufacturer’s guidelines for specific charging times.
What safety precautions should I take when charging a 6V battery?
Always charge the battery in a well-ventilated area to prevent gas buildup. Monitor the battery during charging to avoid overheating, and never leave it unattended while charging. Also, ensure that the charger is compatible and properly connected to avoid short circuits.

- How to Jump-Start a Motorcycle with a Car Battery Safely - February 22, 2026
- Does Life360 Really Drain Your Battery? What You Should Know - February 22, 2026
- Do Hardwired Smoke Detectors Need Batteries for Backup Support? - February 22, 2026