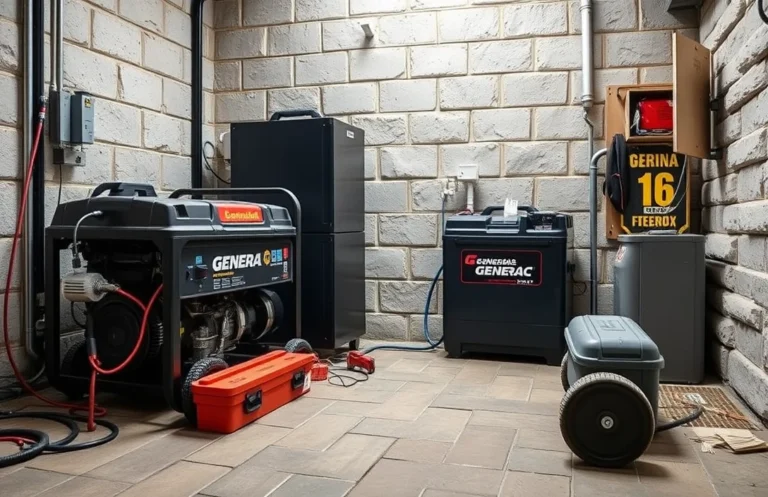
How to Diagnose and Repair an Alternator Not Charging the Battery
Have you ever found yourself stranded with a dead battery, wondering if the alternator is to blame? Understanding how to fix an alternator that isn’t charging your battery can save you time and money, allowing you to regain control over your vehicle’s reliability.
To address this issue, check the alternator connections, ensure the drive belt is intact, and test the alternator output with a multimeter. If problems persist, consider replacing the alternator or consulting a professional for assistance.
Check Battery Condition
Before diving into the complexities of the alternator, it’s essential to determine if the battery itself is functioning correctly. A battery that is weak or dead can give the appearance that the alternator is failing to charge it. Start by inspecting the battery for any physical signs of damage, such as corrosion on the terminals or a swollen case.
Use a multimeter to measure the battery voltage. A healthy, fully charged battery should read around 12.6 volts or more. If the voltage is below 12.4 volts, the battery may be undercharged or failing. If the reading is significantly lower, such as below 12 volts, the battery is likely unable to hold a charge and may need replacement. Additionally, conduct a load test, which can reveal whether the battery can maintain voltage under stress. A battery that fails this test should be replaced before further diagnosing the alternator.
Inspect Alternator Connections
Ensuring that all connections related to the alternator are secure is a vital step in troubleshooting battery charging issues. Loose or corroded connections can disrupt the flow of electricity, leading to inadequate charging. Take the time to visually inspect and physically check each connection linked to the alternator.
Begin by disconnecting the battery to prevent any electrical shock or short circuit. Then, examine the alternator’s wiring harness, ensuring that all connectors are tight and free from corrosion. Look specifically at the positive and negative terminals; corrosion can often appear as a white, powdery substance. If you find any signs of corrosion, clean the terminals with a wire brush or battery terminal cleaner.
Next, check the condition of the wiring itself. Look for frayed or damaged wires that may be interrupting the electrical flow. If any wires appear compromised, they should be replaced to ensure proper function. After securing all connections and cleaning any corrosion, reconnect the battery and proceed to the next step in diagnosing the alternator issue.
Test Alternator Voltage Output
To determine if the alternator is functioning correctly, measuring its voltage output is essential. A properly working alternator should provide a specific voltage range that can easily be checked with a multimeter. This step is crucial in diagnosing whether the alternator is the reason behind the battery not charging.
Begin by setting your multimeter to measure DC voltage. Start your vehicle and let it idle. Place the red probe on the positive terminal of the alternator and the black probe on the negative terminal. A healthy alternator will typically output between 13.8 to 14.4 volts. If the voltage is significantly lower than this range, the alternator may not be charging the battery effectively. Conversely, if the voltage exceeds 14.4 volts, it could indicate a faulty voltage regulator, which also needs attention.
After conducting this test, make sure to turn off the engine and disconnect the multimeter. If the voltage reading falls short of the expected range, further investigation into the alternator and its components is necessary. This process will guide you closer to fixing the issue with the battery charging.
Evaluate Drive Belt Condition
The drive belt plays a crucial role in powering the alternator, and its condition directly impacts battery charging. If the belt is worn, cracked, or too loose, it can slip and fail to generate sufficient power. Regular inspection of the drive belt can help identify any issues affecting the alternator’s performance.
Start by visually inspecting the belt for signs of wear, such as fraying, cracks, or glazing. If the surface appears shiny, it may indicate excessive wear. Next, check the tension of the belt; it should be snug but not overly tight. You can do this by pressing down on the belt midway between the pulleys; it should not move more than half an inch. If it feels loose, adjustments or replacement may be necessary.
Additionally, listen for any unusual noises, such as squealing or chirping, which can signal that the belt is slipping. If you find any issues, replace the drive belt according to the manufacturer’s specifications. This step is essential in ensuring that the alternator can effectively charge the battery, preventing further complications down the line.
Examine Fuses and Relays
Fuses and relays play a critical role in the functionality of your vehicle’s electrical system, including the alternator. If there is a blown fuse or a faulty relay, it can prevent the alternator from charging the battery effectively. This step involves checking these components to ensure they are in working order.
Start by locating the fuse box, which is often found under the dashboard or in the engine compartment. Refer to the vehicle’s manual to identify which fuses are related to the alternator or charging system. Remove the relevant fuses and inspect them visually for any signs of damage, such as a broken wire or discoloration. If a fuse appears blown, replace it with a new one of the same amperage.
Next, check the relays associated with the charging system. Relays can be tested by swapping them with similar ones in the fuse box that are known to be functioning. If the system starts working after a relay swap, that indicates the original relay was faulty and needs replacement. Ensuring all fuses and relays are operational is essential for fixing the alternator not charging the battery.
Replace Faulty Alternator
Replacing a faulty alternator is a critical step in resolving the issue of a battery that is not charging. Follow these steps to safely remove the old alternator and install the new one. Ensure you have the correct replacement part ready before starting the procedure.
- Disconnect the battery: Begin by disconnecting the negative terminal of the battery to prevent any electrical shorts while working on the alternator.
- Remove drive belt: Loosen the tensioner and remove the drive belt from the alternator pulley. Note the belt routing for reinstallation.
- Unplug electrical connectors: Carefully disconnect any electrical connectors attached to the alternator. This may include the main power wire and any other connectors specific to your vehicle.
- Unbolt the alternator: Locate and remove the mounting bolts securing the alternator to the engine. Make sure to support the alternator while removing the final bolts to prevent it from falling.
- Remove the alternator: Carefully lift the alternator out of its mounting location. Ensure that no wires or components are snagged as you remove it.
- Install the new alternator: Position the new alternator in place and secure it using the previously removed bolts. Tighten them to the manufacturer’s specifications.
- Reconnect electrical connections: Plug in all electrical connectors to the new alternator, ensuring each connection is secure.
- Reinstall the drive belt: Refer to your notes and reinstall the drive belt around the alternator pulley and other components.
- Reconnect the battery: Attach the negative terminal back to the battery, ensuring a secure connection.
With the new alternator installed, you’re ready to proceed to the final system test to ensure everything is functioning correctly.
Perform Final System Test
After replacing the faulty alternator, it’s crucial to ensure that the system is functioning properly and charging the battery as intended. This final test will confirm that your repairs have resolved the issue effectively.
Start the vehicle and let it idle for a few minutes. Use a multimeter to check the battery voltage. With the engine off, a healthy battery should read around 12.6 volts. Once the engine is running, the voltage should increase to between 13.7 and 14.7 volts, indicating that the alternator is charging the battery correctly. If the readings are outside this range, further investigation may be necessary.
Monitor the vehicle during this test for any unusual noises or warning lights on the dashboard. If everything operates smoothly and the voltage is within the specified range, your repairs are likely successful. Remember to recheck the connections and ensure that all components are securely in place to prevent future issues.
Quick Summary
- Check the battery condition and connections for corrosion or looseness.
- Inspect the alternator belt for wear and ensure it is properly tensioned.
- Test the alternator output voltage with a multimeter; it should be between 13.8 to 14.2 volts.
- Examine the wiring and connectors leading to the alternator for damage or disconnections.
- Replace the alternator if it fails the output test or shows signs of internal failure.
- Consider checking the vehicle’s fuses related to the charging system for any blown fuses.
- Consult a professional mechanic if troubleshooting does not resolve the issue.
Frequently Asked Questions
What are the signs that my alternator is not charging the battery?
Common signs include dimming headlights, a dead battery, warning lights on the dashboard, and electrical issues in the vehicle. If you notice these symptoms, it may indicate a problem with the alternator.
How can I test if my alternator is working properly?
You can test your alternator by using a multimeter to check the voltage at the battery terminals. A healthy alternator should produce between 13.8 to 14.5 volts while the engine is running.
What are the common causes of an alternator not charging the battery?
Common causes include worn-out brushes, a faulty voltage regulator, broken serpentine belts, or corroded wiring connections. Any of these issues can prevent the alternator from effectively charging the battery.
Can I fix my alternator myself, or should I seek professional help?
If you have mechanical experience and the right tools, some issues can be fixed at home, such as replacing the serpentine belt or cleaning connections. However, for complex repairs or if you’re unsure, it’s best to consult a professional mechanic.
What should I do if my alternator is confirmed to be faulty?
If your alternator is faulty, you will need to replace it to restore charging capability to your battery. You can either purchase a new or refurbished alternator and install it yourself or hire a mechanic to do the replacement for you.