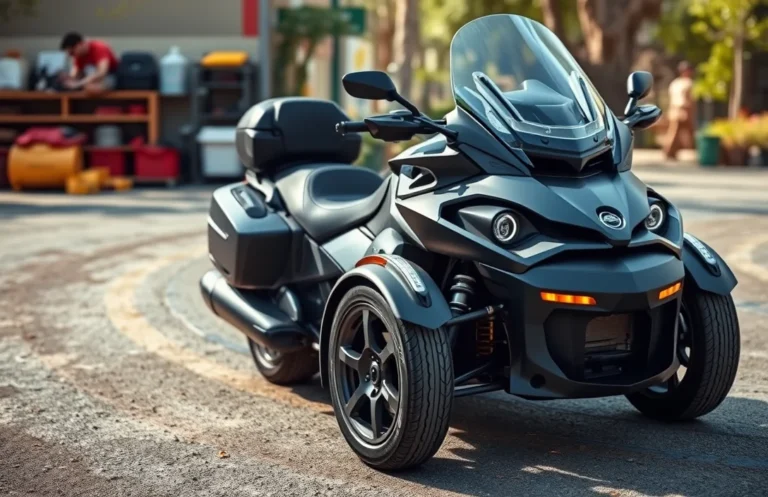
How to Replace the Battery in Your Can-Am Ryker: Step-by-Step Guide
Replacing the battery in your Can-Am Ryker might seem intimidating at first, but it’s a straightforward task that can save you time and money. With the right guidance, you can confidently tackle this essential maintenance step, ensuring your vehicle runs smoothly.
Understanding how to replace the battery safely is crucial. Always follow step-by-step instructions to avoid damaging your Ryker or voiding the warranty. Remember to disconnect the negative terminal first and wear safety gear during the process.
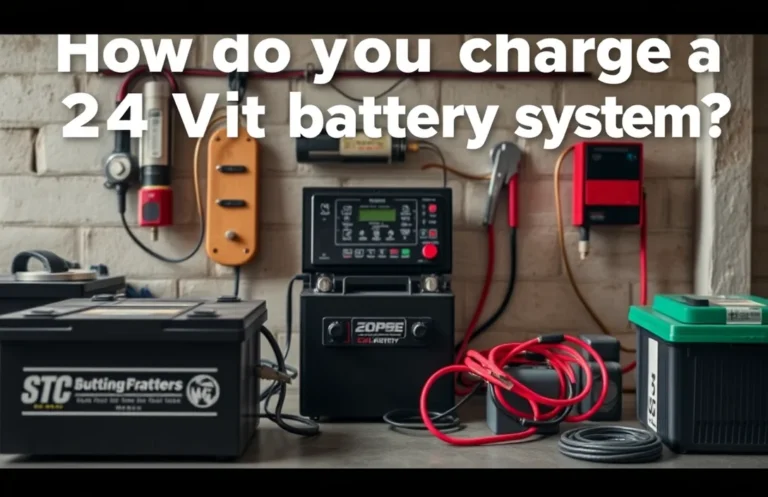
Tools Needed for Battery Replacement
Replacing the battery in your Can-Am Ryker requires specific tools to ensure the process goes smoothly and safely. Having the right equipment will help you avoid any potential damage and make the task more manageable. Below is a list of essential tools you will need to complete the battery replacement.
- Socket Wrench Set: A socket wrench set with various sizes will help you remove the bolts securing the battery.
- Screwdriver Set: A basic set of screwdrivers, particularly flathead and Phillips, may be necessary for accessing the battery compartment.
- Safety Gloves: Wearing gloves protects your hands from battery acid and sharp edges.
- Safety Glasses: These will shield your eyes from any debris or acid that may escape during the process.
- Multimeter: A multimeter can be useful for checking the voltage of the new battery before installation.
Gather these tools before starting the can am ryker battery replacement to ensure you’re fully prepared. Being organized will save you time and help you work more efficiently.
Safety Precautions Before Starting
Before you begin replacing the battery in your Can-Am Ryker, it’s crucial to prioritize safety. Taking the right precautions can prevent accidents and ensure a smooth process. Here’s one important safety measure to follow.
Always disconnect the negative terminal of the battery first. This step is essential to prevent any electrical short circuits while you work on the battery. Use a wrench to loosen the nut on the negative terminal, which is typically marked with a minus sign (-). Once it’s loose, gently pull the terminal away from the battery post. This helps to ensure that you won’t accidentally create a spark or cause any electrical issues while handling the new battery. Remember to place the disconnected terminal away from the battery to avoid accidental contact.
Removing the Old Battery
Now that you’ve ensured your safety, it’s time to remove the old battery from your Can-Am Ryker. This step is crucial, as improper handling can lead to damage or injury. Follow these clear instructions to safely take out the battery.
- Locate the battery compartment: Open the storage compartment located at the rear of your Ryker. This is where the battery is housed.
- Disconnect the negative terminal: Using a 10mm wrench, loosen the bolt on the negative (-) terminal first. This helps prevent any short circuits. Once loose, carefully lift the cable off and set it aside.
- Disconnect the positive terminal: Repeat the process with the positive (+) terminal. Loosen the bolt and remove the cable, ensuring it doesn’t touch any metal parts.
- Remove the battery hold-down strap: Locate the hold-down strap or bracket securing the battery in place. Depending on your model, you may need to use a socket wrench to remove the bolts.
- Carefully lift out the battery: With the terminals disconnected and the hold-down removed, gently lift the battery out of the compartment. Be cautious as batteries can be heavy.
By following these steps, you can ensure that the old battery is safely removed and ready for replacement. In the next section, we’ll discuss how to install the new battery.
Installing the New Battery
Now that you’ve safely removed the old battery, it’s time to install the new one. This step is crucial for ensuring your Can-Am Ryker runs smoothly and efficiently. Follow these clear steps to secure the new battery in place without any hassle.
- Carefully place the new battery into the battery compartment. Ensure that it sits flat and is securely positioned within the holder.
- Align the terminals of the battery with the corresponding cables. The positive terminal is usually marked with a plus (+) sign, while the negative will have a minus (-) sign.
- Check that no cables are pinched or obstructed. This will help prevent any damage during operation or future maintenance.
- Once everything is aligned and positioned correctly, gently push down on the battery to ensure it fits snugly in place.
After installing the battery, take a moment to double-check your work. Ensuring everything is secure now will save you from potential issues down the line. You’re almost there!
Connecting Battery Cables Correctly
Connecting the battery cables properly is crucial for ensuring your Can-Am Ryker functions smoothly after a battery replacement. Incorrect connections can lead to electrical issues or even damage to the vehicle. Follow these steps to ensure you connect the cables correctly:
- Connect the Positive Cable First: Take the red positive cable and connect it to the positive terminal of the new battery. Ensure it’s securely fastened, as a loose connection can cause starting issues.
- Attach the Negative Cable Next: Now, take the black negative cable and connect it to the negative terminal of the battery. Again, make sure this connection is tight to avoid any electrical shorts.
- Double-Check Connections: After both cables are connected, double-check to confirm that they are securely attached and that there are no exposed wires or loose ends.
- Reinstall Any Covers: If your vehicle has a cover over the battery terminals, put it back in place to protect the connections from dirt and moisture.
- Test the System: Turn on the ignition to make sure everything is functioning correctly. If the vehicle starts without issue, you have successfully replaced the battery.
By following these steps, you can confidently connect the battery cables without the worry of damaging your vehicle or voiding the warranty.
Quick Summary
- The Can-Am Ryker battery is essential for starting and powering the vehicle’s electrical systems.
- Regular battery maintenance can prolong the lifespan of the battery.
- Replacement typically requires a few basic tools and safety precautions.
- Choose the correct battery type to ensure compatibility with your Ryker model.
- Proper disposal of the old battery is crucial for environmental safety.
- Consult the owner’s manual for specific instructions and specifications.
- If unsure, professional assistance is recommended for battery replacement.
Frequently Asked Questions
How do I know when it’s time to replace the battery in my Can-Am Ryker?
You should consider replacing the battery if you notice slow engine cranking, dimming lights, or if the Ryker won’t start at all. Regularly check the battery’s voltage using a multimeter; a reading below 12.4 volts indicates it may need replacement.
What type of battery does my Can-Am Ryker use?
The Can-Am Ryker typically uses a sealed lead-acid battery, specifically the YTX14AH-BS model. Always refer to your owner’s manual for the exact specifications to ensure compatibility.
Can I replace the battery myself, or should I take it to a professional?
You can replace the battery yourself if you’re comfortable with basic tools and following instructions. However, if you’re unsure or want to avoid any potential issues, it’s best to consult a professional or a Can-Am dealer.
What tools do I need to replace the battery in my Can-Am Ryker?
To replace the battery, you will need a socket wrench set, a screwdriver, and possibly a multimeter to check the battery voltage. Ensure you have safety gloves and goggles to protect yourself during the process.
Will replacing the battery void my warranty?
Replacing the battery yourself should not void your warranty as long as you follow the correct procedure and use a compatible battery. However, it’s advisable to keep receipts and document your maintenance to avoid any warranty issues.