How to Safely Charge an 8 Volt Battery: Essential Tips for Success
Charging an 8 volt battery may seem daunting, but with the right knowledge and tools, it can be straightforward. Whether you’re powering a vintage vehicle or a specific piece of equipment, understanding the charging process is essential for maintaining battery life and performance.
Key steps include using a compatible charger, ensuring proper connections, and monitoring voltage levels. Always check battery specifications and safety guidelines to avoid damage. With these tips, you can confidently charge your 8 volt battery.
Choosing the Right Charger
Selecting an appropriate charger is crucial for effectively charging an 8 volt battery. The charger must match the battery’s voltage specifications to ensure safety and efficiency. Using a charger designed for higher voltages can lead to overheating, damage, or even failure of the battery.
Look for a charger specifically labeled for 8 volt batteries, which are commonly used in various applications, including golf carts and some outdoor power equipment. Avoid using chargers intended for 12 volt systems, as they may not provide the correct voltage or current needed for safe charging. Additionally, consider the charger’s output current; a charger with a lower output can charge the battery more gently, prolonging its lifespan, while a higher output can speed up the process but may increase wear on the battery. Always check the manufacturer’s guidelines for compatibility before making a purchase.
Preparing the Battery for Charging
Before charging an 8 volt battery, ensuring it is properly prepared is crucial for safety and efficiency. This involves inspecting the battery for any visible damage, checking the electrolyte levels, and ensuring the terminals are clean. Follow these steps to ready the battery for charging.
- Inspect the battery: Look for any cracks, leaks, or corrosion on the battery case. If you find any damage, do not attempt to charge it, as this could pose safety risks.
- Check electrolyte levels: If the battery is a flooded lead-acid type, open the caps and ensure the electrolyte covers the plates. If the level is low, top it up with distilled water to prevent damage during charging.
- Clean the terminals: Use a wire brush or terminal cleaner to remove any corrosion or dirt from the battery terminals. Clean terminals ensure a good connection and prevent issues during charging.
- Ensure proper ventilation: Position the battery in a well-ventilated area to dissipate any gases that may be released during the charging process. Avoid enclosed spaces to minimize the risk of explosion.
Connecting the Charger Correctly
Properly connecting the charger to the battery terminals is essential for safe and effective charging. This step ensures that the electrical flow is directed correctly, preventing potential damage to the battery or charger. Follow these steps to connect the charger to your 8 volt battery correctly:
- Identify the terminals: Locate the positive (+) and negative (-) terminals on your battery. The positive terminal is usually marked with a red cover or symbol, while the negative terminal is typically black.
- Connect the positive charger clamp: Attach the red clamp from the charger to the positive terminal of the battery. Ensure a firm connection for good electrical contact.
- Connect the negative charger clamp: Next, attach the black clamp from the charger to the negative terminal of the battery. Again, confirm that the connection is secure.
- Check connections: Double-check both connections before proceeding to charge. Ensure that the clamps are not touching each other and that they are firmly attached to the correct terminals.
- Plug in the charger: Once the clamps are connected, plug the charger into a power outlet. Make sure the charger is set to the appropriate voltage for your battery.
Monitoring Charging Process
Keeping an eye on the charging process ensures that the battery is being charged correctly and safely. Monitoring helps prevent overcharging and allows you to track the charging progress. Here are some key tips to effectively monitor the charging of your 8 volt battery:
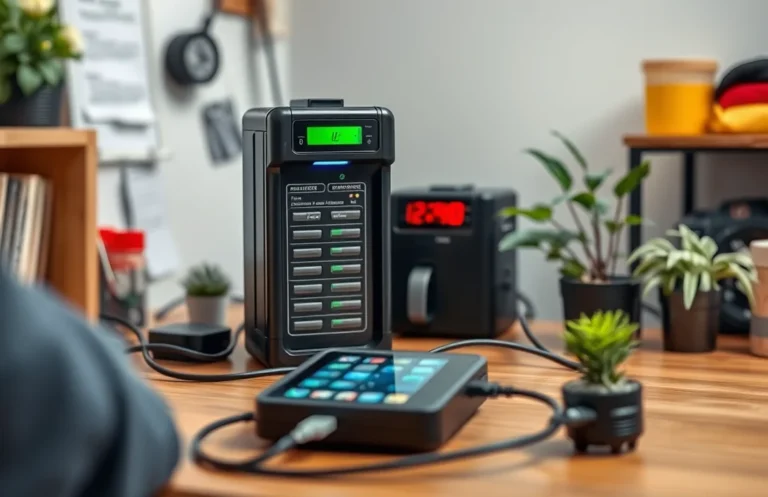
- Check the Charger Indicator: Many chargers come equipped with LED indicators that show the charging status. Make sure to monitor these lights, which typically indicate if the battery is charging or fully charged.
- Measure Voltage Regularly: Use a multimeter to check the voltage of the battery during the charging process. This will give you a clear indication of its state and help ensure it doesn’t exceed the recommended voltage.
- Listen for Unusual Sounds: Pay attention to any unusual sounds coming from the battery or charger. Hissing or bubbling noises can indicate overheating or other issues.
- Set a Timer: If you know the typical charging time for your battery, set a timer to check back at regular intervals. This helps you stay aware of the charging duration and prevents overcharging.
By actively monitoring these aspects, you can safely charge your battery while minimizing risks associated with the charging process.
Safety Precautions to Follow
During the charging process, it’s crucial to monitor the temperature of the battery. Overheating can lead to significant risks, including damage to the battery or even combustion. Regularly check the battery’s surface; it should feel warm but not excessively hot. If it becomes too hot to touch, discontinue charging immediately and allow it to cool down.
Ensure that the environment is well-ventilated while charging. This helps disperse any gases that may be emitted. Avoid charging in tight, enclosed spaces where heat and gas can accumulate, increasing the risk of fire or explosion.
Additionally, do not leave the battery unattended while charging. Stay close to monitor any changes in temperature or behavior. This vigilance can prevent accidents and ensure that the charging process remains safe and effective.
Disconnecting the Charger Safely
Properly disconnecting your charger is crucial to ensure both your safety and the longevity of your 8 volt battery. Following the correct procedure minimizes the risk of electrical shock and prevents potential damage to the battery and charger. Here’s how to do it correctly.
Start by turning off the charger before unplugging any connections. This reduces the chance of sparking and protects the battery’s terminals. Next, remove the negative (black) lead from the battery first, followed by the positive (red) lead. This order prevents any accidental short-circuiting. After disconnecting the leads, unplug the charger from the wall outlet to further ensure safety.
Inspect the battery terminals for any corrosion or residue before covering the battery or storing it. If any issues are present, take the time to clean them with a suitable cleaning solution before putting the battery away. By following these steps, you can safely disconnect the charger and maintain your battery’s integrity.
Testing Battery Voltage Post-Charging
After charging an 8-volt battery, verifying its voltage ensures that the charging process was successful. This final step is crucial to confirm that your battery is ready for use. Follow these steps to accurately check the voltage.
- Gather a multimeter, which is the most effective tool for measuring voltage.
- Set the multimeter to the DC voltage setting, ensuring it can measure at least up to 10 volts.
- Connect the multimeter probes to the battery terminals: the red probe to the positive terminal and the black probe to the negative terminal.
- Read the voltage displayed on the multimeter. A fully charged 8-volt battery should read between 8.4 and 8.6 volts.
- If the reading is below this range, the battery may not be fully charged, and you should recharge it again.
By following these steps, you can be confident that your battery is adequately charged and ready for use. Regularly checking the voltage also helps in maintaining the battery’s health and longevity.
Quick Summary
- Ensure the battery is compatible with an 8-volt charger.
- Use a charger specifically designed for lead-acid or AGM batteries, if applicable.
- Check the battery’s voltage and condition before charging to prevent damage.
- Connect the charger to the battery terminals, ensuring correct polarity (positive to positive, negative to negative).
- Monitor the charging process and avoid overcharging by disconnecting once fully charged.
- Charge in a well-ventilated area to prevent gas buildup.
- Follow manufacturer instructions for optimal charging practices and safety precautions.
Frequently Asked Questions
How do I know if my 8 volt battery needs charging?
To determine if your 8 volt battery needs charging, check the voltage with a multimeter. If the reading is below 8 volts, it’s time to recharge. Additionally, if your device is showing signs of reduced performance, it may indicate a low battery.
What type of charger should I use for an 8 volt battery?
Use a charger specifically designed for 8 volt batteries, ensuring it’s compatible with the battery type (flooded, AGM, or gel). A smart charger with automatic shut-off features is ideal, as it helps prevent overcharging and extends battery life.
Can I charge an 8 volt battery with a 12 volt charger?
Charging an 8 volt battery with a 12 volt charger is generally not recommended, as it can lead to overcharging and damage. If necessary, use a 12 volt charger with a lower setting or a step-down converter to safely charge your battery.
How long does it take to fully charge an 8 volt battery?
The charging time for an 8 volt battery can vary depending on the charger and battery capacity. On average, it takes about 4 to 8 hours for a full charge; however, always refer to the manufacturer’s guidelines for the best results.
What precautions should I take while charging an 8 volt battery?
Always charge the battery in a well-ventilated area to prevent gas buildup, and never leave it unattended while charging. Additionally, make sure to follow the manufacturer’s instructions regarding charging rates and safety measures.