How to Safely Charge an 8 Volt Battery for Optimal Performance
Charging an 8-volt battery may seem daunting, especially for those new to batteries and charging systems. However, with the right guidance, you can safely and effectively charge your battery, ensuring your vintage vehicle or equipment runs smoothly and efficiently.
Understanding how to charge an 8-volt battery involves correct equipment, safety precautions, and proper techniques. Follow these clear instructions to avoid damaging your battery or equipment and enjoy the process of maintaining your cherished items.
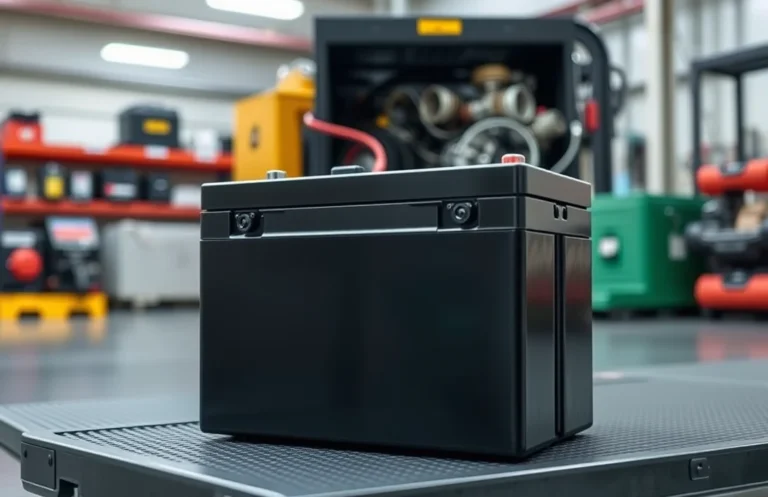
Choose the Right Charger
Selecting the right charger for your 8-volt battery is crucial for ensuring optimal performance and longevity. Using an inappropriate charger can lead to overcharging, which damages the battery, or undercharging, which can leave it unable to perform when needed. Therefore, it’s essential to choose a charger specifically designed for 8-volt batteries.
Look for a charger that is labeled as compatible with 8-volt systems. Most chargers will indicate the voltage they support. Avoid using chargers designed for 6-volt or 12-volt batteries, as these will not provide the correct voltage and can cause harm. Ideally, select a smart charger that automatically adjusts its output based on the battery’s state, reducing the risk of overcharging.
Additionally, ensure that the charger has a suitable amperage rating for your battery. Generally, a charger with a lower amp rating (around 2 to 10 amps) is safer for slower charging, which is often better for battery health. For vintage vehicles or equipment, investing in a quality charger designed for 8-volt batteries will pay off in performance and reliability.
Verify Battery Condition
Before charging your 8-volt battery, it’s essential to inspect it for any signs of damage or wear. This step ensures that you’re not risking safety or battery performance. A thorough check can prevent potential hazards and ensure optimal charging conditions. Look for obvious issues like cracks, leaks, or corrosion that could indicate problems.
Start by examining the battery casing for any visible cracks or damage. A cracked case can lead to leaks, which not only diminish battery life but can also pose safety risks. If you notice any leaks, it’s best to replace the battery rather than attempt to charge it.
Next, check the battery terminals. Look for signs of corrosion, which appears as a white, powdery substance around the connections. Corrosion can interfere with the electrical flow, making it difficult to charge effectively. If you find corrosion, clean the terminals using a mixture of baking soda and water, applying it with a brush. Rinse thoroughly and dry before proceeding.
Finally, assess the battery’s charge level if possible. Using a multimeter, check the voltage—if it’s significantly below 8 volts, this may indicate that the battery is weak or damaged. Following these steps will help ensure that you are ready to charge your 8-volt battery safely and effectively.
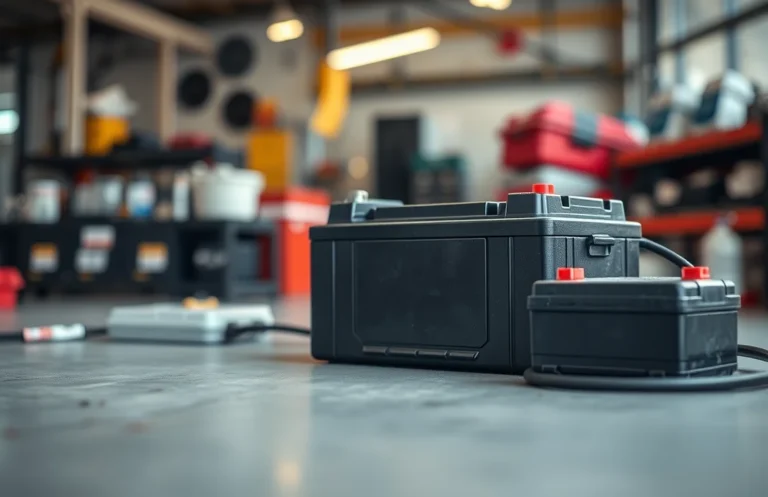
Connect the Charger Properly
Connecting the charger to your 8-volt battery correctly is crucial for safety and efficiency. This step ensures that the charging process begins without any risk of damage to the battery or the equipment. Follow these steps carefully to establish a secure connection.
- Turn off the charger: Before making any connections, ensure the charger is turned off to prevent any accidental sparks.
- Identify the battery terminals: Locate the positive (+) and negative (-) terminals on the battery. The positive terminal is usually marked with a red cover or symbol, while the negative terminal is marked with black.
- Connect the positive lead: Take the red clamp from the charger and securely attach it to the positive terminal of the battery. Ensure a solid connection to avoid any arcing.
- Connect the negative lead: Attach the black clamp to the negative terminal of the battery. If you’re connecting to a vehicle, it’s often safer to attach the negative clamp to a grounded metal part of the vehicle instead of directly to the battery.
- Check connections: Double-check that both clamps are firmly connected and that there are no loose wires or potential shorts.
- Turn on the charger: After confirming all connections are secure, turn on the charger to begin charging the battery.
Set Charging Voltage
Adjusting the charger to the correct voltage is crucial for charging an 8-volt battery safely and effectively. Setting the right voltage ensures that the battery receives the appropriate amount of power without the risk of overcharging or damaging it. Follow these steps to configure your charger correctly.
- Locate the voltage adjustment settings on your charger. This may be a dial or a digital display depending on your model.
- Rotate the dial or press the buttons to select the 8-volt setting. If your charger is a smart charger, it may automatically detect the battery type, so you may not need to adjust anything.
- Double-check that the display confirms the setting is at 8 volts. If your charger has multiple options, ensure you are not on a 12-volt or higher setting.
- If your charger does not have an 8-volt option, it’s essential to find a compatible charger designed specifically for 8-volt batteries. Using the wrong voltage can lead to battery damage.
By correctly setting the voltage, you help ensure the longevity and performance of your battery. Always prioritize safety and consult the charger’s manual if you have any doubts about the settings.
Monitor Charging Progress
Keeping an eye on the charging progress is crucial to ensure the battery does not overcharge. Overcharging can lead to heat buildup, gas release, and even damage to the battery, which can shorten its lifespan. Regularly checking the battery during the charging process allows you to act quickly if something seems off.
Use a multimeter to monitor the voltage of the battery while it charges. If you’ve set the charger to the correct voltage, the reading should gradually approach 8 volts. Keep an eye on the gauges on your charger, if available, as they can provide real-time data on the charging process. If the voltage exceeds 8.5 volts, disconnect the charger immediately to prevent overcharging.
Additionally, you can touch the battery case to check for excessive heat. A warm battery is normal during charging, but if it becomes too hot to the touch, it’s a sign to stop charging. Remember, patience is key; monitoring the battery closely helps maintain its health and performance.
Disconnect and Store Safely
Properly disconnecting your charger and storing the battery is essential for maintaining its health and ensuring safety. Follow these steps to safely handle your 8-volt battery after charging, preventing any potential damage or hazards.
First, turn off the charger and unplug it from the wall. This action eliminates any risk of electric shock and ensures no current flows while you work. Next, carefully disconnect the charger clips from the battery terminals. Always remove the negative terminal (-) first, followed by the positive terminal (+). This order helps prevent short circuits and sparks.
Once the battery is disconnected, store it in a cool, dry place away from direct sunlight and extreme temperatures. If the battery will not be used for an extended period, consider placing it on a trickle charger designed for 8-volt batteries. This method keeps it at optimal charge without overcharging.
Finally, inspect the battery for any signs of corrosion or damage. Clean the terminals with a mixture of baking soda and water if corrosion is present, and ensure the battery is securely stored to avoid any accidents. Following these steps will help maintain your battery’s performance and longevity.
Maintain Battery Health
Proper maintenance of your 8-volt battery is essential for prolonging its lifespan and ensuring optimal performance. Regular checks and care can prevent unexpected failures and enhance reliability. Here are several key practices to keep your battery in top shape after charging:
- Keep it clean: Regularly inspect and clean the battery terminals to prevent corrosion. Use a mixture of baking soda and water to scrub away any buildup.
- Check the fluid levels: If your battery is not a sealed type, ensure the electrolyte levels are adequate. Add distilled water if necessary, but never overfill.
- Monitor the charge: Maintain a consistent charging schedule. A battery that is regularly charged is less likely to suffer from sulfation, which can reduce capacity.
- Store properly: If you’re not using the battery, store it in a cool, dry place. Avoid extreme temperatures, as they can affect battery performance.
- Test regularly: Use a multimeter to check the voltage and ensure it remains within the ideal range for an 8-volt battery.
By following these maintenance tips, you can significantly extend the life of your battery and ensure it performs well when needed. Keeping up with these practices will save you time and money in the long run, allowing you to enjoy your vintage vehicle or equipment without worry.
Quick Summary
- Identify the type of 8-volt battery you are charging (lead-acid, lithium-ion, etc.).
- Use a compatible charger specifically designed for 8-volt batteries.
- Ensure the charger is set to the correct voltage and amperage for safe charging.
- Connect the charger’s positive lead to the battery’s positive terminal and the negative lead to the negative terminal.
- Monitor the charging process and avoid overcharging to prolong battery life.
- Disconnect the charger after the battery is fully charged, following proper safety procedures.
- Store the battery in a cool, dry place to maintain its health when not in use.
Frequently Asked Questions
How do I know if my 8-volt battery needs charging?
You can check the battery’s voltage with a multimeter. If the voltage is significantly below 8 volts, it’s time to charge it. Additionally, if your vehicle or equipment is showing signs of poor performance, the battery may need charging.
What type of charger should I use for an 8-volt battery?
It’s best to use a charger specifically designed for 8-volt batteries. These chargers provide the correct voltage and current to safely charge the battery without overcharging or damaging it.
How do I safely connect the charger to the battery?
First, ensure the charger is unplugged. Connect the positive (red) lead from the charger to the positive terminal of the battery, and the negative (black) lead to the negative terminal. Once connected, plug in the charger to start charging.
How long does it take to charge an 8-volt battery?
The charging time can vary based on the charger’s output and the battery’s capacity. Typically, it can take anywhere from 4 to 12 hours for a full charge. Always refer to the charger’s manual for specific recommendations.
What precautions should I take while charging an 8-volt battery?
Always charge in a well-ventilated area to avoid gas buildup, and never leave the battery unattended while charging. Check for any signs of swelling or leaking, and disconnect the charger immediately if you notice any abnormalities.

- How to Jump-Start a Motorcycle with a Car Battery Safely - February 22, 2026
- Does Life360 Really Drain Your Battery? What You Should Know - February 22, 2026
- Do Hardwired Smoke Detectors Need Batteries for Backup Support? - February 22, 2026